
It wasn’t that long ago that I thought in order to make homemade bread you had to be some kind of “dough-whisperer”. I thought in order to make an irresistible bread loaf, you’d have to lovingly mix the temperamental yeast in while singing sweet lullabies in order for it to raise. Apparently, all these years I’ve been wrong! My friend Becca shared this bread recipe and I’ve been successful with it every time I’ve made it! Baking bread has become a fun weekly habit. I try to involve my kids in the process and I LOVE knowing what ingredients are going into my food and baking your own bread saves money too!
As I’ve made the transition to clean eating, and have been helping others do the same, I remind them that eating clean isn’t always perfect. Even just finding a healthier version of what you already eat is a step in the right direction. Technically, Ezekiel Bread is the bread I recommend and use most of the time myself. But if you’re just starting out finding those healthier options, this recipe is a great! It’s naturally sweetened and uses very little oil and salt. It’s also FOOLPROOF, which means any bread novice (myself included here) can make it with great results. I’ll walk you through the recipe, give you some tips, and let you know how my version varies slightly from the original version.
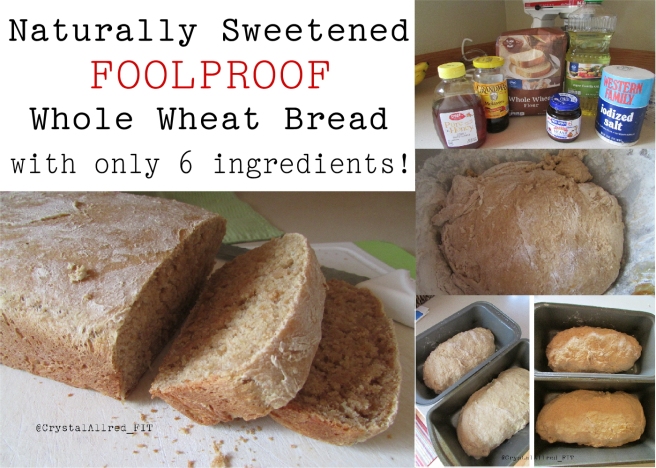
Gather your ingredients:
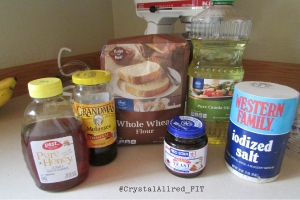
1 T yeast dissolved in
1/4 cup warm water
2 1/2 c hottest tap water
2 c whole wheat flour
2 T vital wheat gluten (I don’t use this)
3 T vegetable oil
3 T honey
3T molasses
1 T salt (use less if desired)
2-4 additional cups of wheat flour
First, dissolve yeast in 1/4 cup warm water. Set aside. Combine 2 1/2 c hot water, 2 c flour in large mixing bowl. Add oil, honey, molasses, and salt. Beat well with electric mixer. Stir in dissolved yeast. Add additional flour (I start with a 1/2 cup and mix well, then add another 1/2 cup….until I get the right consistency. When the dough starts to thicken up, I remove the paddle attachment on my kitchen aid mixer and use the bread hook attachment instead. If you don’t have a bread hook attachment, this is where you’d start hand kneading or mixing with a wooden spoon.) Knead well, but don’t add too much flour or your bread will be dense and won’t be as moist. Dough should still lightly stick to your fingers.
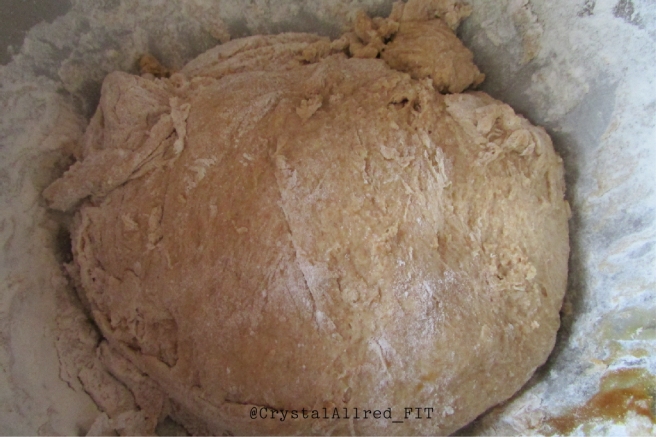
Divide dough into two portions and shape each into a loaf. Place in lightly sprayed bread pan. Let rise until not quite double. (This can take some time. Maybe 45 min-hour).
Before Rise:

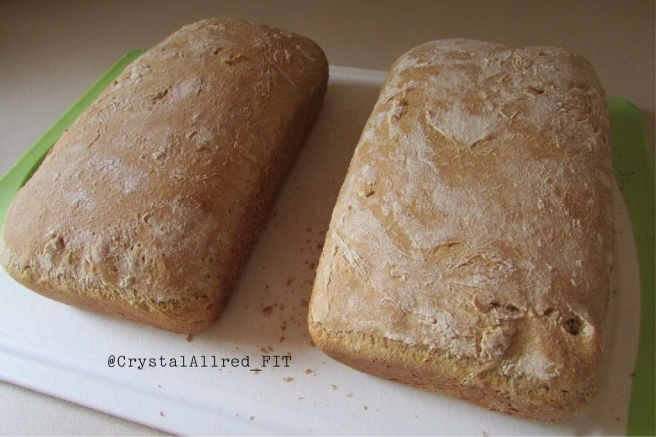
After Rise:

Bake at 350 for 30-40 minutes. (Mine bakes in 30 minutes, so I would definitely check at the 30 minute mark!)
Remove bread from pans immediately. TIP: Use a butter knife to gently pull the bread away from the sides of the pan before turning the pans over to get the bread out.
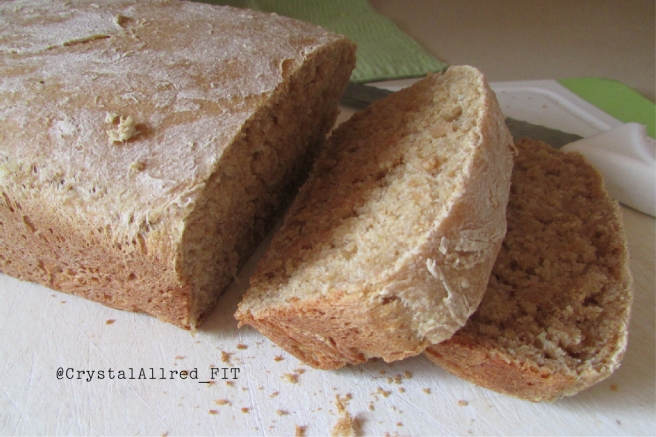
This bread is great for sandwiches or toast. One of my favorite pre-run breakfasts is one slice of this bread topped with almond butter and some banana slices. This bread freezes nicely (so you can make a bunch a head of time) and will keep fresh in a bread-bag on the counter for several days. Enjoy!
 Additional TIPS: This recipe can easily be doubled to make 4 loaves at a time. You can also hand grind your wheat flour for this recipe (I like to do that, but was in a rush this week so I used store bought flour). Finally, if you’re family isn’t used to wheat bread and you want to make the transition slowly, you can use half wheat flour and half white flour.
